
Creating and Saving a HTML Document
You can create an HTML document by creating a new document in a text editor, such as Notepad, adding you HTML code to the document, and saving it with .html or .htm extension. We are using Notepad as our text editor for creating HTML documents with below given instructions:
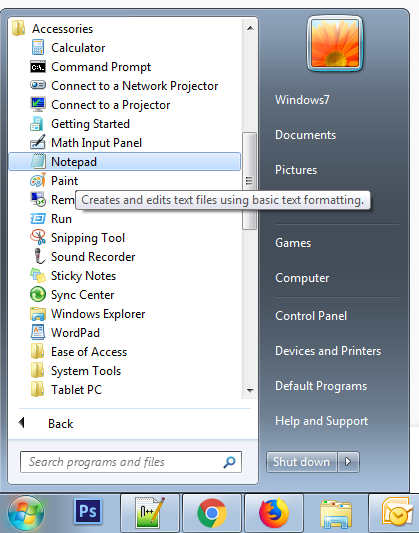
Click Start ->All Programs->Accessories->Notepad as show in below snapshot:
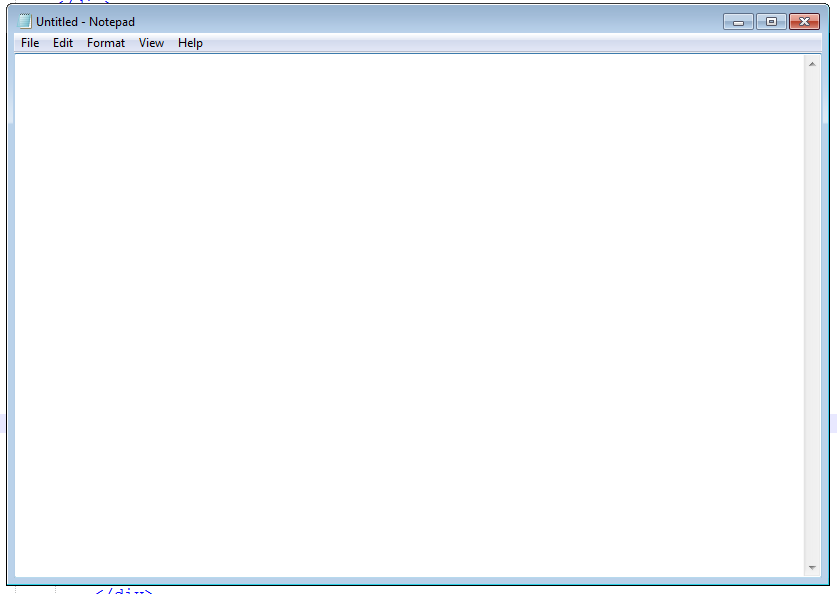
The notepad window opens a blank document, as show in below snapshot:
Add the code, given below to the document:
<!DOCTYPE html>
<html>
<head>
<title>
Title of the web page
</title>
</head>
<body>
Contents of the web page
</body>
</html>
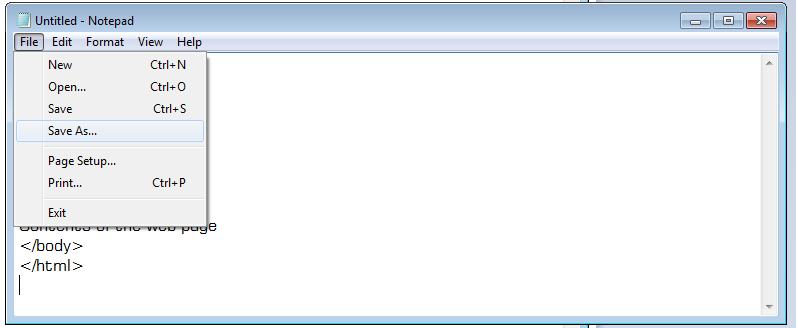
Click File ->Save As. As show in below snapshot:
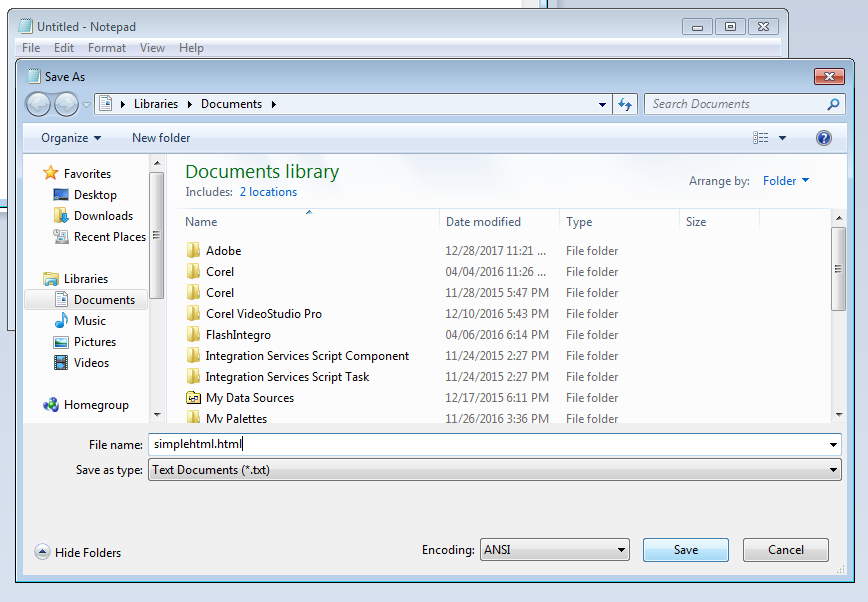
The Save As dialog box appears, as show in above snapshot. In the Save As dialog box, you need to specify a location, name, and file type for your document.
Browse to the directory where you want to save your document, as show in below snapshot:.
In this case, we have selected Libraries -> Documents.
Type a name for the document with the .html or .htm extension in the File name combo box, as show in snapshot. In this case, we have type simplehtml.html.
Click the Save button, as show in below snapshot:
The Save As dialog box closes and your document is saved as an HTML document at the specified location.
In the previous section, you learned how to create and save an HTML document. In the next section, you learn how to open an existing HTML document in a Web browser.